


Displaying the chapter and page number together in Microsoft Word only seems difficult because the solution isn’t particularly intuitive. If you know where to look, the solution is easy.


Image: Maria Bulkka/Shutterstock
Documents that combine the chapter (or section) number and the page number aren’t as common as they once were, but they’re definitely still around. Word has no setting for combining the two numbering elements. Initially, it seems impossible, but that’s because it’s not a simple cut-and-dry click like most page-numbering schemes. In this article, I’ll show you how to combine the chapter and page numbers.
SEE: 83 Excel tips every user should master (TechRepublic)
I’m using Microsoft 365 on a Windows 10 64 bit system but you can use earlier versions. For your convenience, download the demonstration .docx and .doc files. You can’t insert page numbers in Word Online.
A bit of setup
There’s no quick click that will automatically combine chapter and page numbers; the requirement requires a bit of effort. The good news is that it’s not as difficult as you might first think, but there are a few constraints you must apply:
- Use any built-in page numbering scheme, but map the page number to a built-in heading style.
- Use the built-in multiline numbering scheme named Chapter to add chapter titles. Don’t type the title manually.
You’ll be a bit ahead if you know before you start the document that you need a page-numbering scheme that includes the chapter (or section) numbers. That’s not always practical, so we’ll start with an existing document and work through the potential pitfalls as we add this page-numbering scheme. We’ll work with a simple three-page document that has three chapters (sections) and three chapter headings.
SEE: Windows 10: Lists of vocal commands for speech recognition and dictation (free PDF) (TechRepublic)
You’re not stuck with chapter headings either. You can use this technique with numbered sections.
How to add and format page numbers in Word
Now, let’s suppose you just received the three-page document shown in Figure A. There are no sections and no page numbers. The pages are separated by hard page breaks.
Figure A

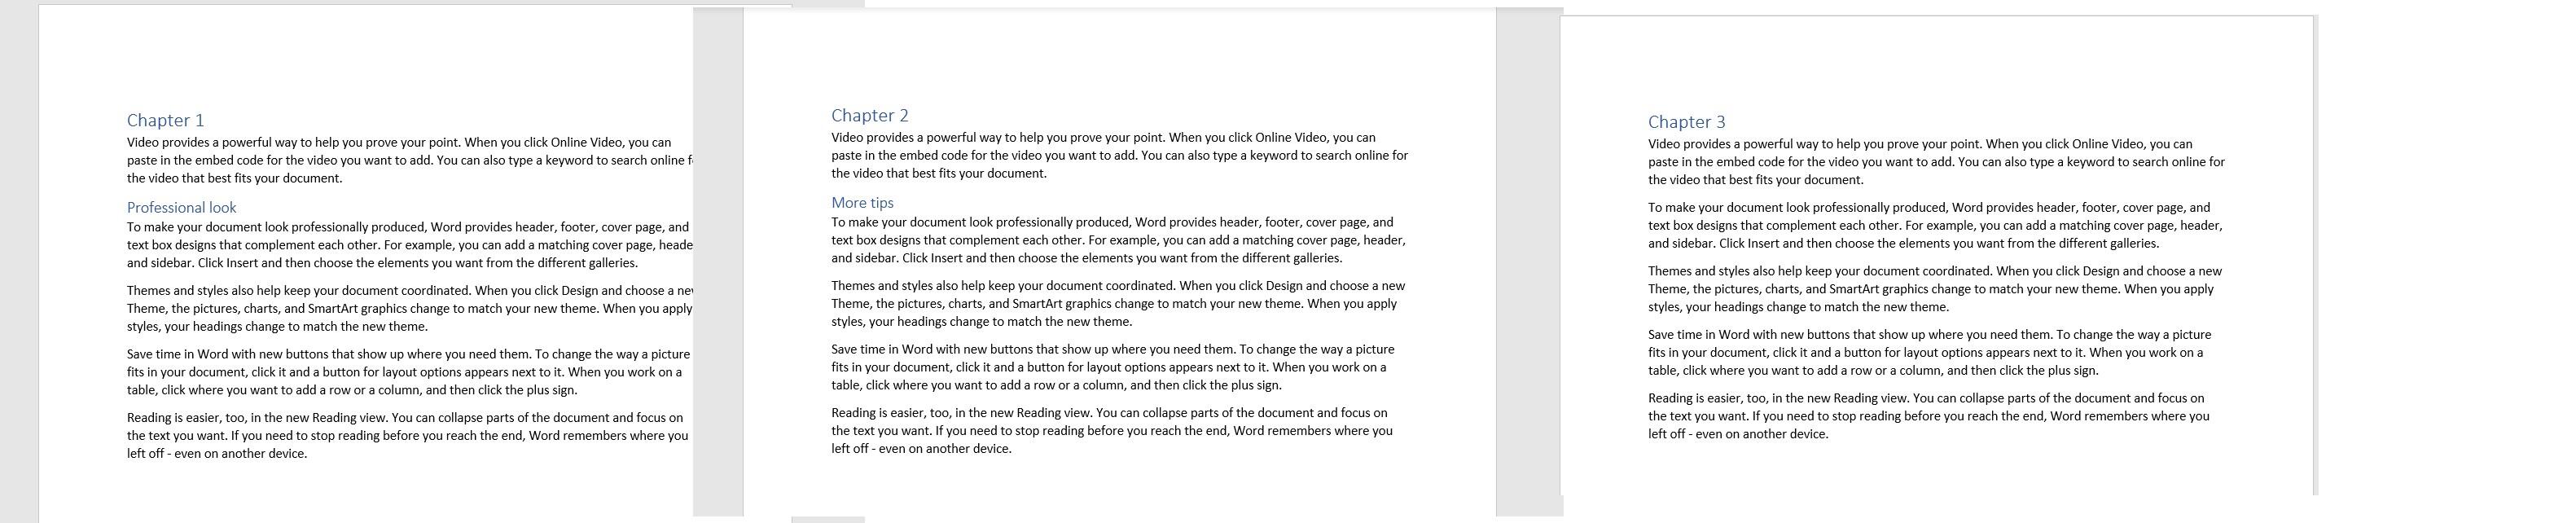
We’ll add the chapter-page numbering scheme to this simple document.
Your job is to add the chapter-page numbering scheme as follows:
- Open any of the headers (assuming the document has no section breaks) by double-clicking in the top margin about the text.
- With the header in edit mode, click Page Number in the Header & Footer group.
- Choose the first built-in page number, Top of Page, and then Plain Number 1 (Figure B). (We’re keeping things simple on purpose.)
- Once you’ve added the page number, click Page Number again and choose Format Page Numbers.
- Use Figure C to choose the right settings: check the Chapter Number option, choose Heading 1 from the Chapter Starts With Style dropdown. This is what I meant by mapping a heading style to the page numbering scheme. In addition, choose em-dash from the Separator dropdown, enter 1 as the Start At setting. You could choose another built-in heading.
- Click OK.
Figure B

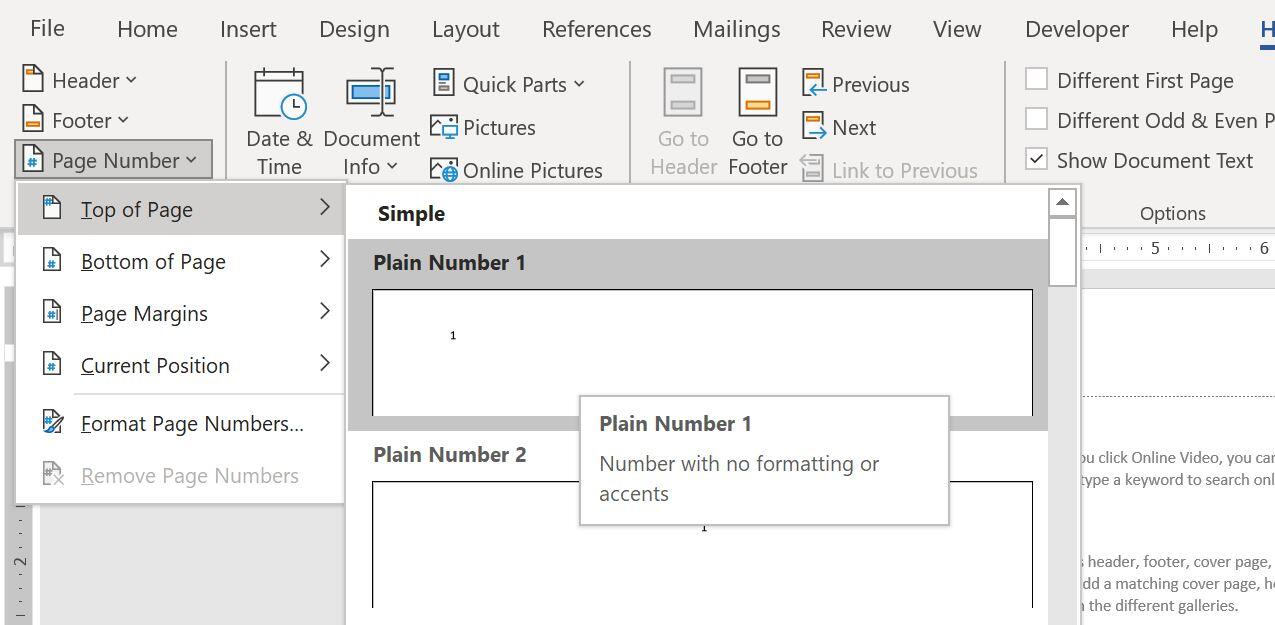
Insert a page number.
Figure C


Choose the right settings.
Click anywhere in the body of the document to leave the header section. Notice that the page number displays only the page number—there’s no chapter number, even though each chapter has Heading 1 text that says Chapter n. Word can’t use the manually-entered headings. Instead, we must use a built-in numbering scheme. To do so, delete the Chapter 1 text from the top of page 1, but leave the blank line. Then, do the following:
- Click Multilevel List in the Paragraph group on the Home tab.
- From the resulting gallery, click Chapter (Figure D). It’s probably the last thumbnail option in the list. In Figure D, the None thumbnail is selected. That’s because I haven’t actually clicked the Chapter thumbnail yet.
Figure D

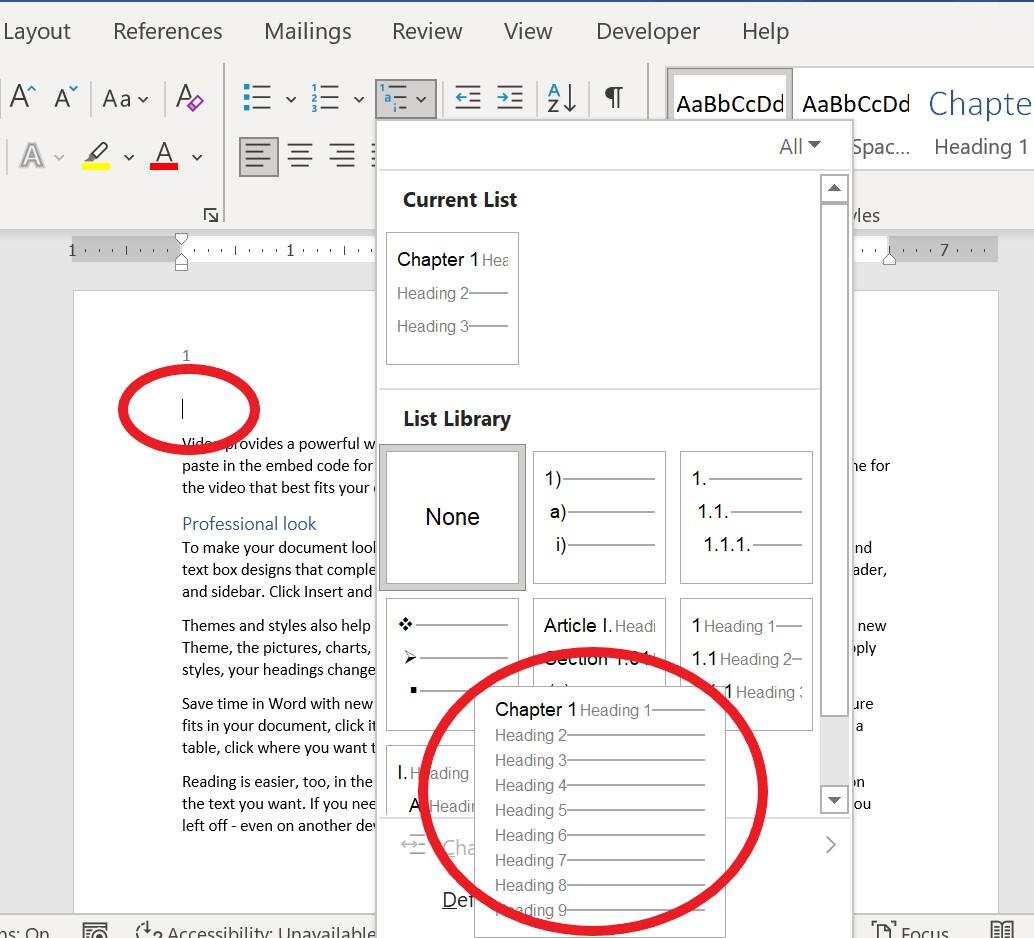
Choose the built-in Chapter numbering scheme.
When you return to the document, the numbering scheme displays Chapter 1 styled as Heading 1. It looks identical to what was there before but notice that the page number now displays 1-1. That’s chapter 1, page 1, as shown in Figure E.
Figure E


The page numbers now display the chapter number.
At this point, all three pages now display the chapter number and page number, but the chapter numbers are wrong. That’s because we haven’t replaced the Chapter 2 and Chapter 3 text with the built-in Chapter page-numbering scheme.
Repeat the steps above for pages 2 and 3. Now, the page numbers display the chapter number from the top of each page and the page numbers, 1, 2 and 3, because we have a three-page document: 1-1, 2-2 and 3-3. The fact that the chapter and page numbers are the same, as shown in Figure F, is a coincidence because each chapter has only one page. At this point, you could stop. At this point, you might be done. However, there’s one more step you might consider.
Figure F

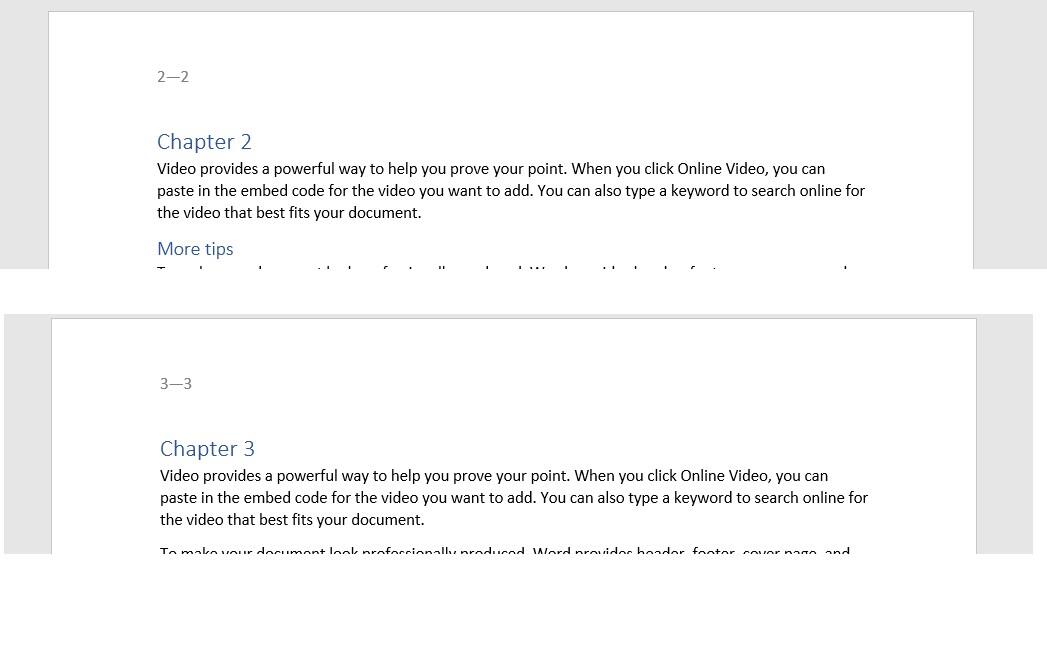
This may or may not be what you want.
How to add sections in Word
Let’s suppose you want the page numbers to start over with each new chapter: 1-1, 2-1 and 3-1. To do so, you need to insert section breaks. Doing so is a bit murky when the document already has hard page breaks to separate the sections. That’s why I wanted to use an existing document as an example. You must replace the hard page breaks with a section break.
You’ll want to see the hard page breaks, so click Show/Hide in the Paragraph group on the Home tab. After the text at the bottom of page 1 but before the page break, enter a section break as follows:
- Click the Layout tab.
- In the Page Setup group, click the Break option.
- From the resulting list, choose Next Page (Figure G). Doing so will add a new blank page. Delete the hard page break that was originally there. Simply select it and press Delete. Be careful not to select the chapter heading at the top of the next page when deleting the hard page break.
Figure G

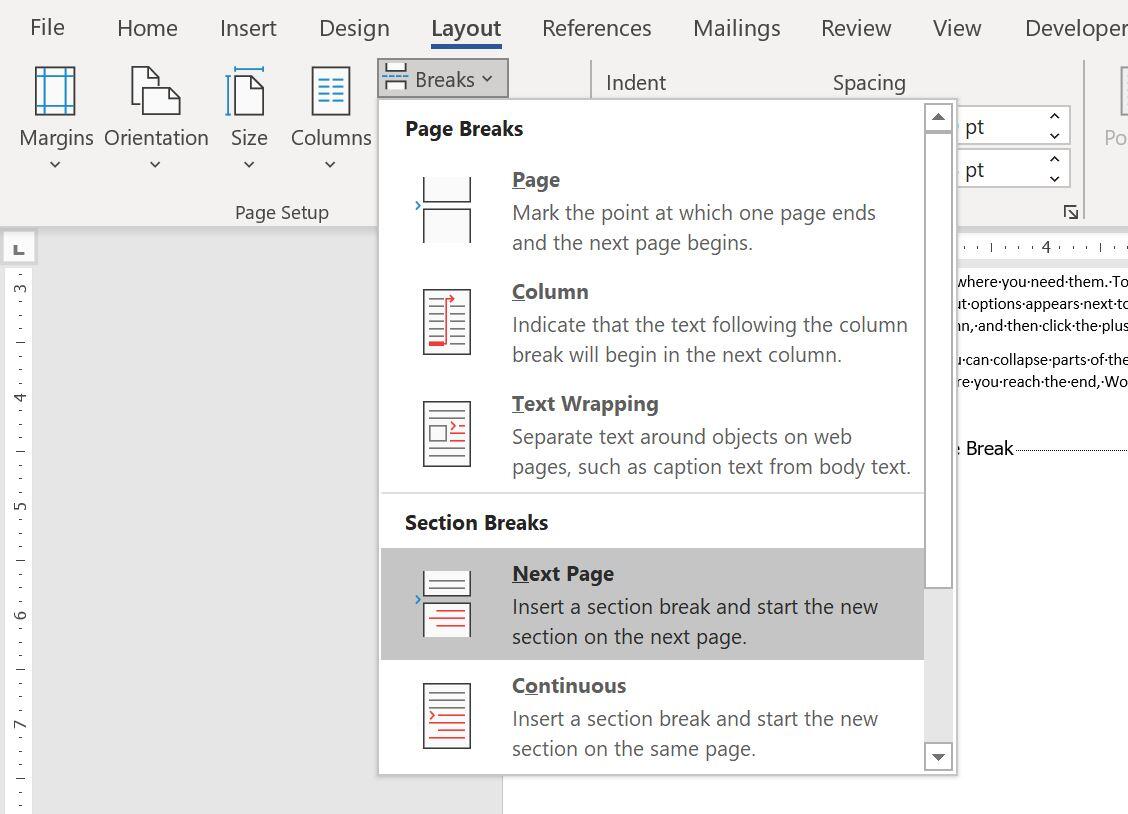
Add a Next Page section break.
There’s still one more step: We must break the link between the sections. Return to page 2, double-click the header area, and click the Link to Previous option in the Navigation group. Repeat this for page 3. Now the page numbers display the appropriate chapter number and begin with page 1: 1-1, 2-1 and 3-1.
You can add the section breaks or not—that’s entirely up to you. It’s easy to apply the chapter-page numbering format by using the built-in Chapter numbering scheme.


Microsoft Weekly Newsletter
Be your company’s Microsoft insider by reading these Windows and Office tips, tricks, and cheat sheets.
Delivered Mondays and Wednesdays
Also see
Stay connected with us on social media platform for instant update click here to join our Twitter, & Facebook
We are now on Telegram. Click here to join our channel (@TechiUpdate) and stay updated with the latest Technology headlines.
For all the latest Technology News Click Here
For the latest news and updates, follow us on Google News.

