Sometimes, a Chromebook beats a Windows laptop. Complexity often makes life harder for users easily confused by computers—and the people who provide them IT support. A Chromebook’s simplified interface does away with driver management, endless system updates, and even malware avoidance.
More importantly, Chromebooks run a lightweight operating system that feels fast and responsive on older and budget hardware, making them far more affordable. In fact, you can create your own Chromebook for free if you have an older laptop lying around. You just have to install the equivalent of Chrome OS on it.
The process takes less than an hour, and the end result often feels snappier than today’s dirt-cheap Chromebooks. Here’s how to do the conversion.
How to convert a laptop into a Chromebook
For this project, we’ll be using Neverware’s CloudReady operating system, which is based on Chromium OS—the same open-source code that Google built Chrome OS on. You can read more about the basic differences between the two if you’re curious, but all you need to know is that Neverware has made the experience of using CloudReady all but identical to Chrome OS.
Note: CloudReady lacks access to the Google Play Store—so if support for Android apps (like Minecraft) is integral to your needs, you’ll have to buy an official Chromebook. That’s true even after Google’s purchase of Neverware in December 2020, as CloudReady and ChromeOS currently remain on separate development tracks.
Step 1: Check that your laptop will meet the requirements
 PCWorld
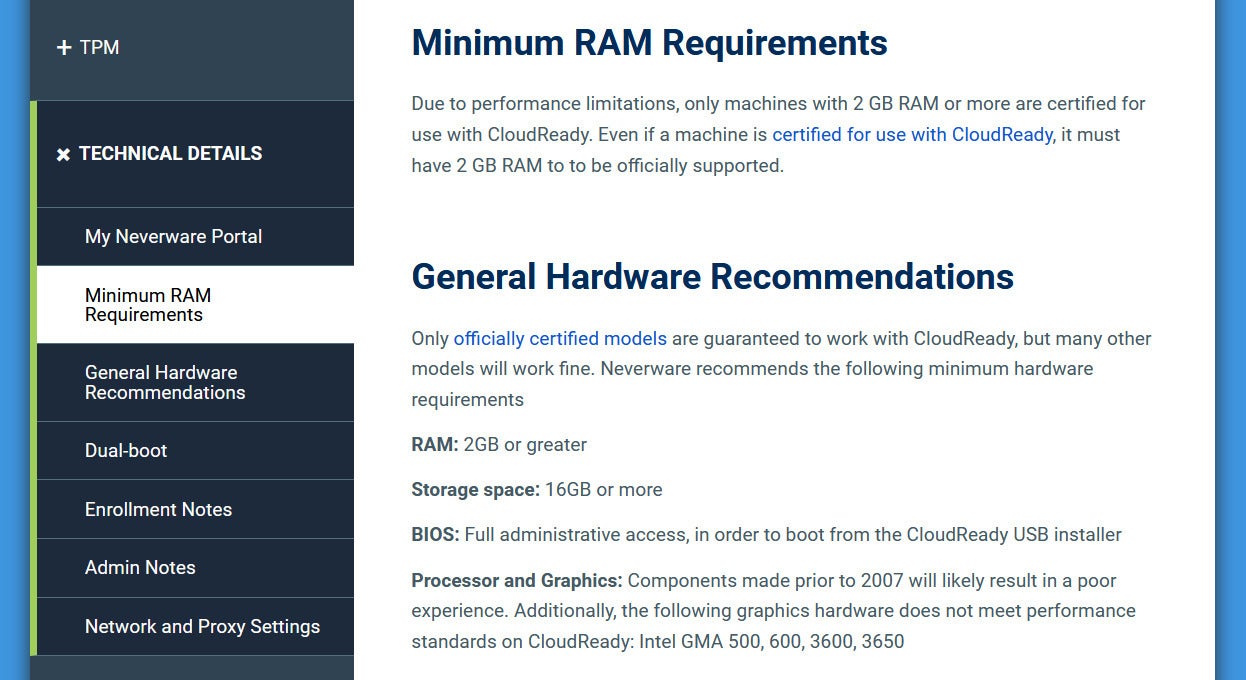
CloudReady’s system requirements are very minimal: Just 2GB RAM, 16GB storage, full BIOS access, and manufactured after 2007.
Like Chrome OS, CloudReady’s system requirements are very minimal. The laptop must have 2GB RAM, 16GB storage, full BIOS access, and ideally been manufactured after 2007. You will still need to check your CPU model, though, as Neverware says that processors with Intel Graphics Media Accelerator (GMA) 500, 600, 3600, or 3650 graphics hardware don’t meet CloudReady’s performance standards. (In other words, Atom processors from the Silverthorne, Lincroft, and Cedarview families, which were found in low-end laptops between 2008 and early 2012.)
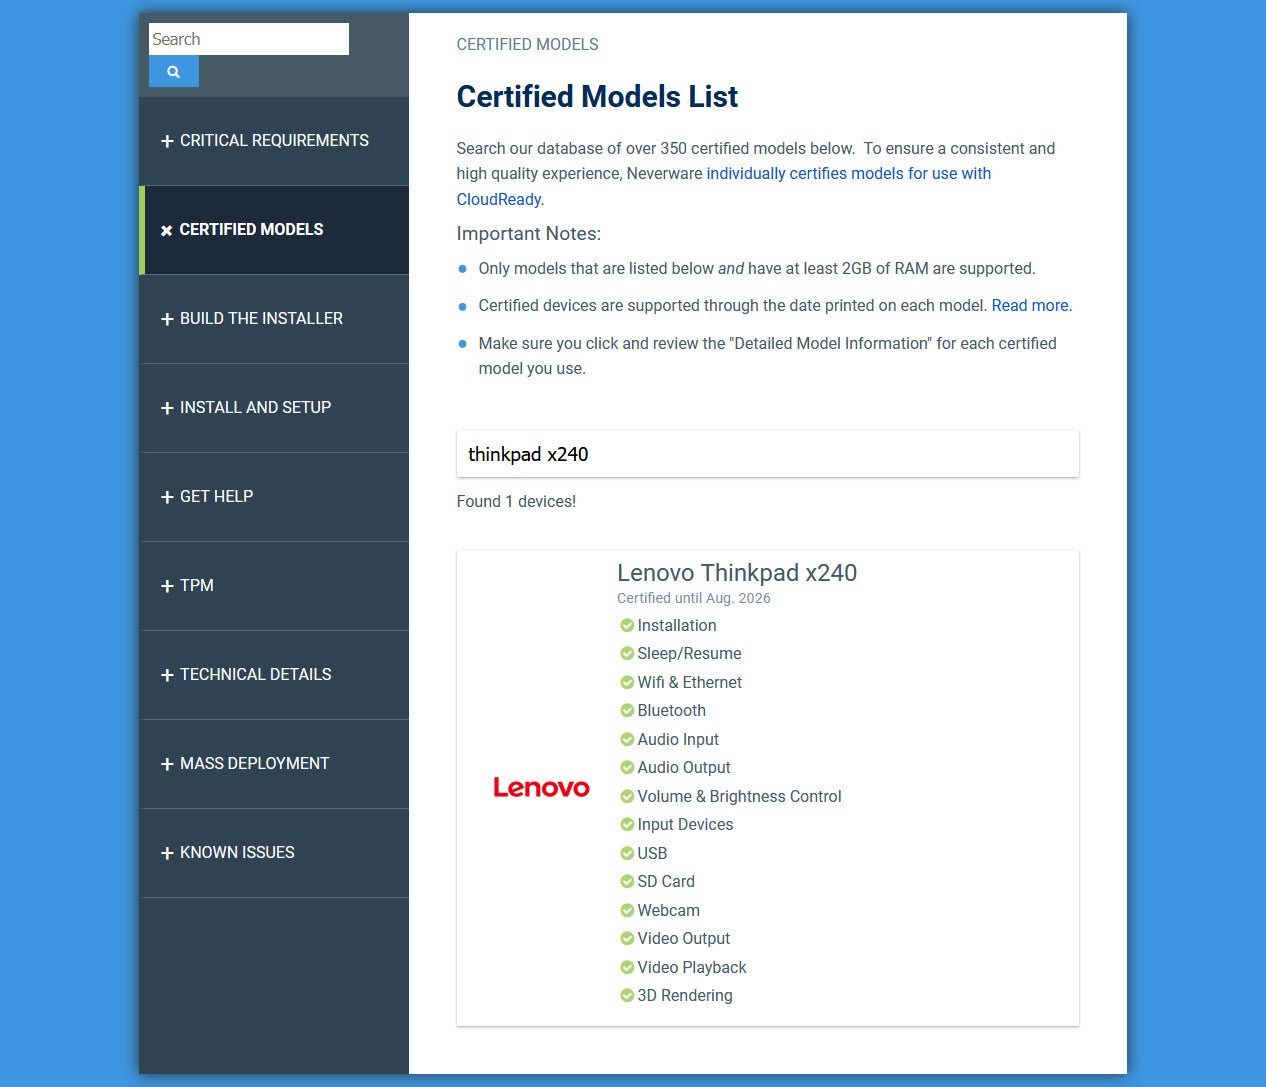
Your best-case scenario is to find your laptop on Neverware’s list of certified devices, which clearly outlines support for features like a webcam or touchscreen. (Click on the model’s name to see those details.) We lucked out that our test model, a 2013 Lenovo ThinkPad X240, had full feature support across the board.
 PCWorld
We lucked out with our test machine, a Lenovo ThinkPad X240: All of its major features are supported.
Note: On the compatibility list, you’ll see desktop systems like iMacs and NUCs listed as well—so if you have a spare monitor, mouse, and keyboard, you can instead spin up a Chromebox. Systems running integrated graphics work best.
If your laptop meets the hardware requirements but isn’t on the certified devices list, don’t worry. You can try out CloudReady from the flash drive you’ll create next, which will allow you to test out how well it works without having to nuke your system.
FRIENDLY REMINDER: Before you begin installing CloudReady, back up any files within your existing OS! The process is the same as a clean install of Windows, Linux, or MacOS and will completely wipe your drive.
Step 2: Prepare the flash drive for installation
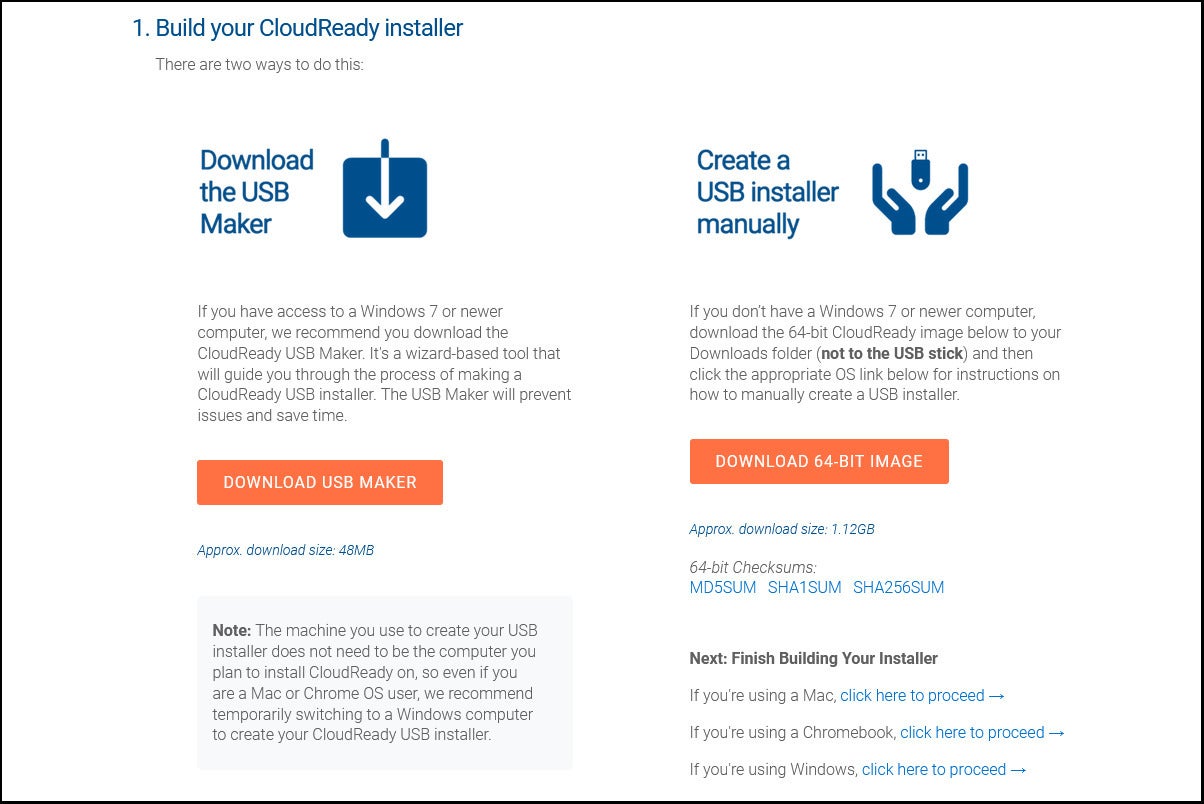
To install CloudReady, you’ll need an 8GB USB drive (at minimum) and a PC, Mac, or Chromebook to create the installation media. The process takes about 20 minutes.
We’ll be using CloudReady Home edition, which is free and will work even if you plan to use this Chromebook for school. You can ignore any notes or warnings about restrictions related to management licenses—they’re for the CloudReady Enterprise and Education versions, which would be purchased by an institution.
 PCWorld
The easiest way to prepare a CloudReady installation flash drive is with a Windows PC.
Using a Windows PC to create the flash drive installer is easiest, as you can download the USB Maker and let it take care of the whole process. For Macs, Linux PCs, and Chromebooks, you’ll need to download the CloudReady Home Edition image first, then follow Neverware’s instructions for manually building your installer.
Step 3: Boot to flash drive
In order to boot to your newly created flash drive, you must bypass your laptop’s automatic boot order, which usually defaults to the primary storage drive. You’ll do this by hitting a key on your keyboard when your PC first powers up, similar to entering the BIOS. Search online for how to access the boot priority menu for your particular laptop, since it’s not universal. For example, our Lenovo ThinkPad X240 required mashing F12 right at startup, while for our HP Spectre x360, it was F9. CloudReady even provides a list of boot keys for major laptop makers.
An alternative method is to enter your laptop’s BIOS (again, you will need to search for which key to press when powering on your laptop) and rearrange the automatic boot order, then undo that change after your CloudReady install.
In either case, you should be able to choose the USB drive as your boot device. A white screen with the CloudReady logo will appear shortly thereafter.
Tip: Did you end up in your laptop’s default operating system after booting, despite repeated button mashing? You likely waited too long to start pressing the key, or you aren’t pressing the right combination of keys. (Example: Function keys may require also holding the Fn key—or not.)
Step 4: Install CloudReady
When the welcome screen appears, you can take one of two routes: Immediately wipe your laptop’s drive and install CloudReady, or configure CloudReady on the flash drive. Choose the latter if you’d like to test drive CloudReady for short while—doing so allows you to try out Neverware’s OS without any destructive changes to your system.
Note: Neverware does not recommend running CloudReady indefinitely from a USB drive due to performance and storage limitations, as well as a lack of OS updates.
Option 1: Installation
After booting to the flash drive, wait for the welcome screen to appear, then click on the bottom right-hand part of the screen where the time shows. In the menu that appears, choose Install OS.
 PCWorld
You’ll find the option for installing CloudReady to your laptop within this menu.
Confirm you’ve backed up your data, and then proceed with the hard drive wipe and CloudReady installation. Neverware says the process will last between 5 and 20 minutes, depending on the speed of your flash drive and the size of your laptop’s hard drive.
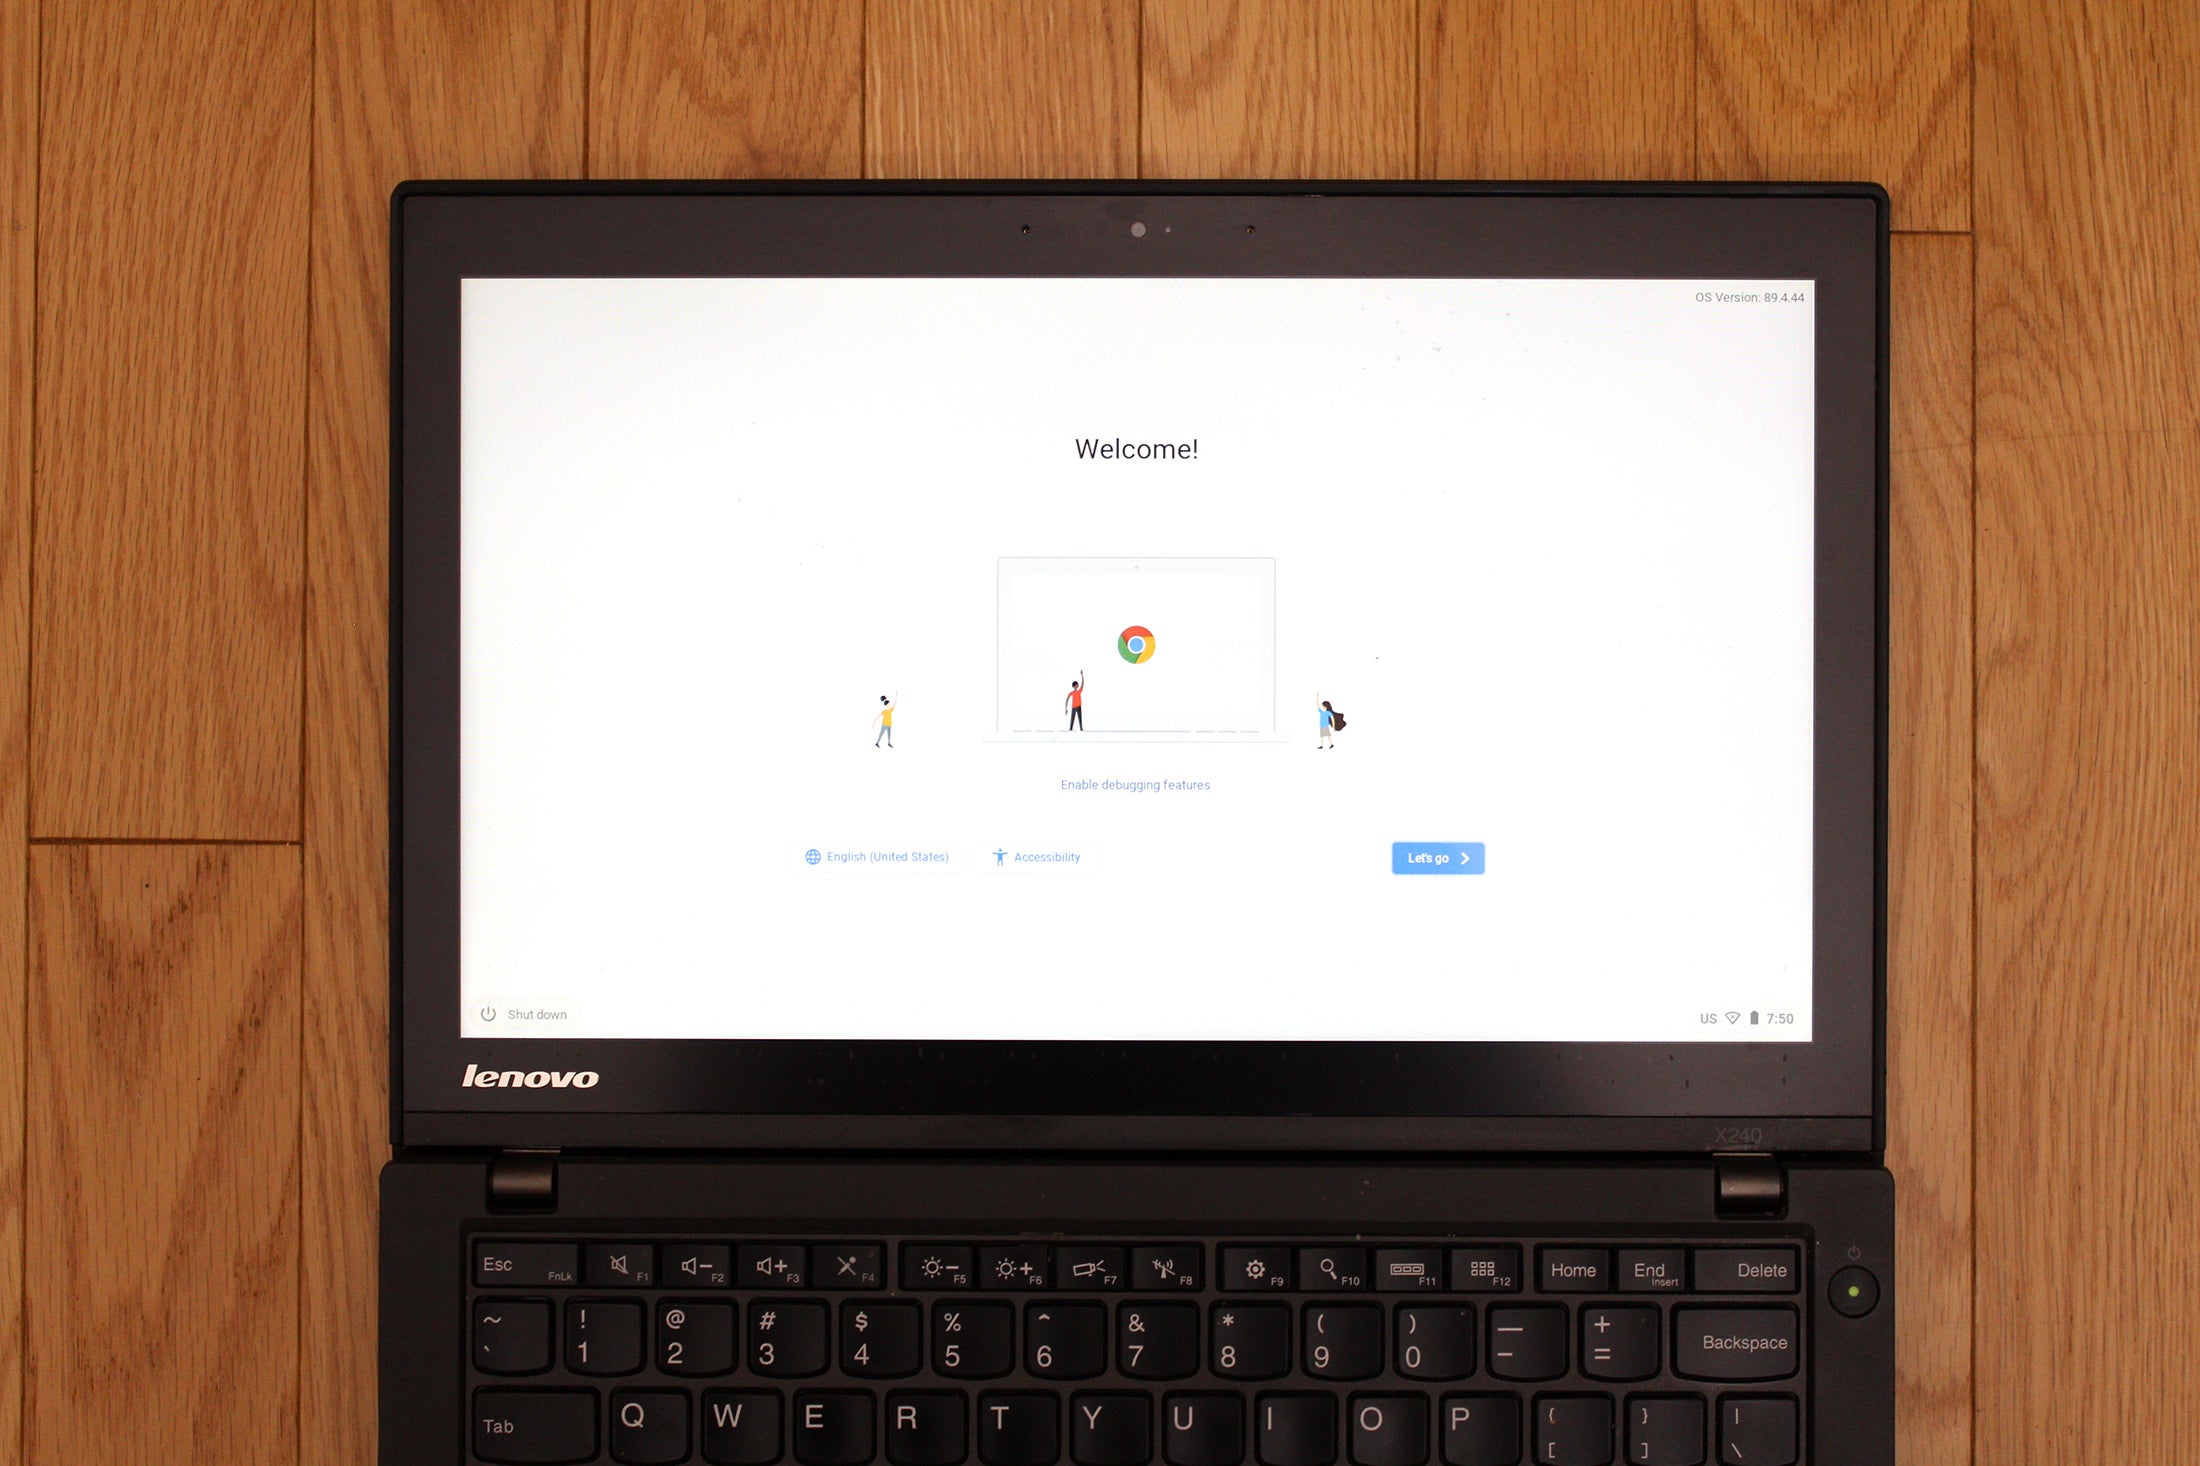
Upon completion, your laptop will shut down. Remove the USB drive, then power the system back on (and undo any changes to your BIOS’s automatic boot order, if applicable). You’ll see a welcome screen once again, now running from your laptop. Click on Let’s Go to begin setup.
Option 2: Try out CloudReady from the flash drive
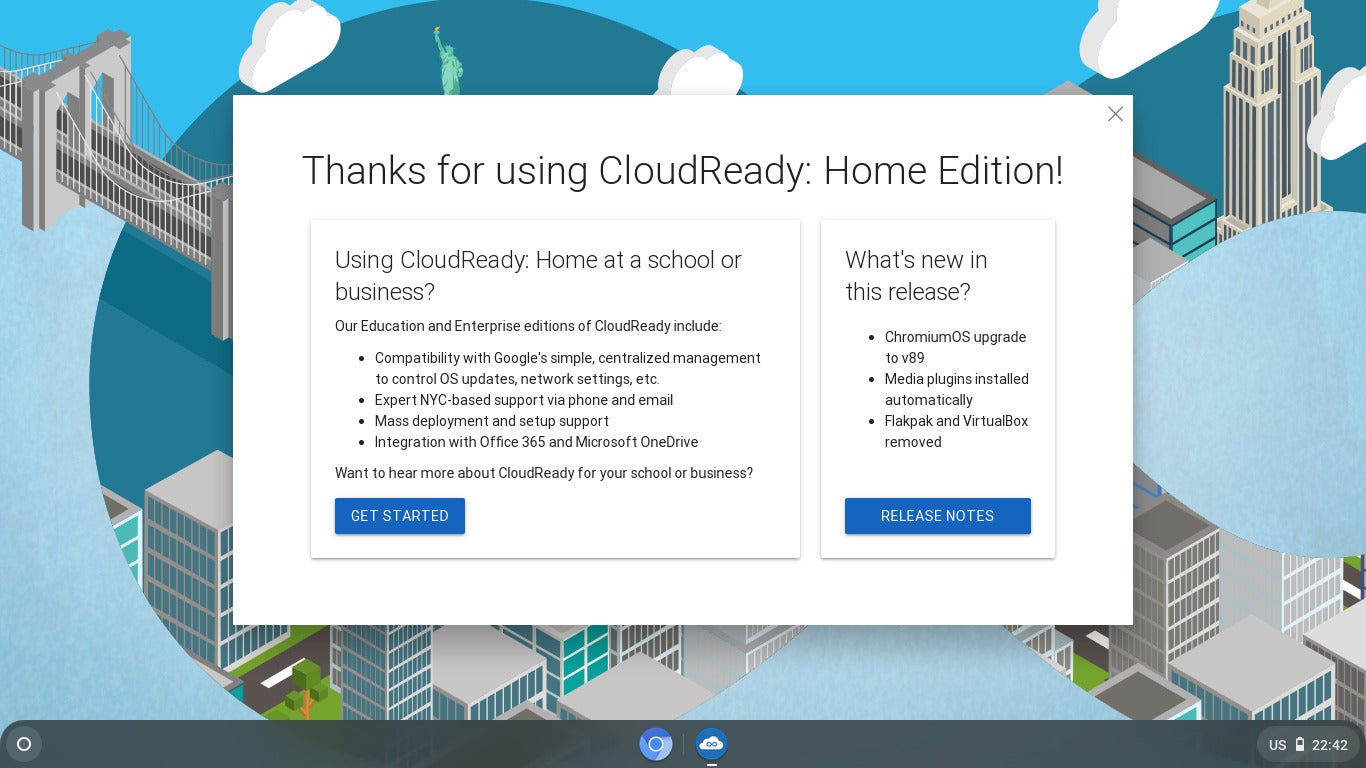
When the welcome screen appears, click on Let’s Go to start setup. After passing through configuration screens for Wi-Fi, data sharing, and Google account login, you’ll reach the desktop. Close out of the pop-up window that shows info on the paid editions and current release notes to begin using CloudReady.
 PCWorld
Unless you wish to read the release notes, you can close out of this desktop start screen right away.
You can later install CloudReady locally by clicking on the time in the bottom right-hand part of the screen. Choose Install OS in the menu that appears. After completion, your laptop will shut down. Remove the USB drive, then power the system back on (and undo any changes to your BIOS’s automatic boot order, if applicable). You’ll see the welcome screen once again, now running from your laptop; begin setup by clicking on Let’s Go.
Step 5: Log into your Google Account
If you installed CloudReady to the laptop’s storage drive, you now only need connect to the internet (either via Wi-Fi or ethernet), set your data sharing preference, and log into your Google account. You’ll then reach the desktop, where you’ll see a pop-up window that shows info on the paid editions and current release notes.
Close it to start using your DIY Chromebook—you’re all set to go. As of version 89 of CloudReady, proprietary media plugins no longer need to be installed manually. You can start streaming video from services that rely on DRM (Netflix, Hulu, etc) right away!
How well does it run?
 Alaina Yee / IDG
As a Windows PC, our Lenovo ThinkPad X240 was starting to get long in the tooth. As a Chromebook, its hardware automatically made for a smooth, pleasant experience.
For this article, we used a 2013 Lenovo ThinkPad X240, borrowed from our IT department’s stash of decommissioned laptops. This 12.5-inch touchscreen laptop is long in the tooth by today’s standards, mostly due to a spinning-platter hard disk drive—when working within Windows 8.1, the system felt sluggish even during basic use.
But our X240’s Intel Core i5-4300U processor, 8GB RAM, and 500GB drive absolutely crushes today’s budget Chromebooks. It hangs pretty well with mid-range models, too, despite its 1366×768 resolution display. When we tried CloudReady off the flash drive, the touchscreen worked immediately and the system ran buttery smooth; even when installed on the hard disk drive, CloudReady had a much faster response time than Windows 8.1. Normally in an older laptop, I’d swap in an SSD to prolong its life, but I found I could use CloudReady on the X240’s existing hardware without yearning for that upgrade.
Standby battery life also improved, allowing us to go from a day of use between charges in Win 8.1 to a couple of days in CloudReady.
If you don’t have an old laptop
Try hunting for gently used notebooks among reliable friends or family. Local universities sometimes also have surplus departments, which offload older computer equipment by selling it to the public. On occasion, you can find good refurbished computers through Amazon Warehouse or Woot, too.
Final tips
- If your older laptop has low-end hardware (or very old hardware) paired with a hard-disk drive, you’ll get better performance by swapping in an SSD. Find out the height of your existing hard drive before buying to ensure it’ll fit.
- Though CloudReady functions all but the same as Chrome OS, one small difference is that the keyboard layouts don’t match exactly. Most keyboard commands carry over, but a few are a little different. Our Lenovo ThinkPad X240 didn’t even match Neverware’s suggestion of CTRL + F5 for taking a screenshot; for some inexplicable reason, CTRL + F11 worked instead. You may also need to experiment to find the right key combos.
Editor’s Note: This story originally published on 8/24/2020 and has been updated with current instructions for installing CloudReady.
Stay connected with us on social media platform for instant update click here to join our Twitter, & Facebook
We are now on Telegram. Click here to join our channel (@TechiUpdate) and stay updated with the latest Technology headlines.
For all the latest Technology News Click Here
For the latest news and updates, follow us on Google News.